


In preparing for the upcoming Total Solar Eclipse on April 8th, 2024, I found it necessary to construct a solar filter for my 650-1300mm telephoto/zoom lens. What follows here is a simple tutorial for making one using easily avail;able materials and tools.
First thing you'll need are some supplies, including a sheet of Mylar solar filter material (I recommend Thousand Oaks Optical), an empty Quaker Oats container, duct tape, a razor knife, scissors (not pictured), a black and silver Sharpie, a small piece of cardboard and an Olive Garden soup-to-go container (not pictured).

Begin by placing the camera lens you wanna filter onto the Mylar sheet and mark out a circle using a black Sharpie.

Next, remove the plastic lid from the Quaker Oats container.

Invert the lid and place it onto the small sheet of cardboard. Then, using the razor knife, carefully cut about 1/4" inside the black circle until you have cut out a complete circle.

Discard the plastic circle and retain the ring you have now created.

Using the black Sharpie, mark short black lines extending from the black circle inwards until you have the following example.

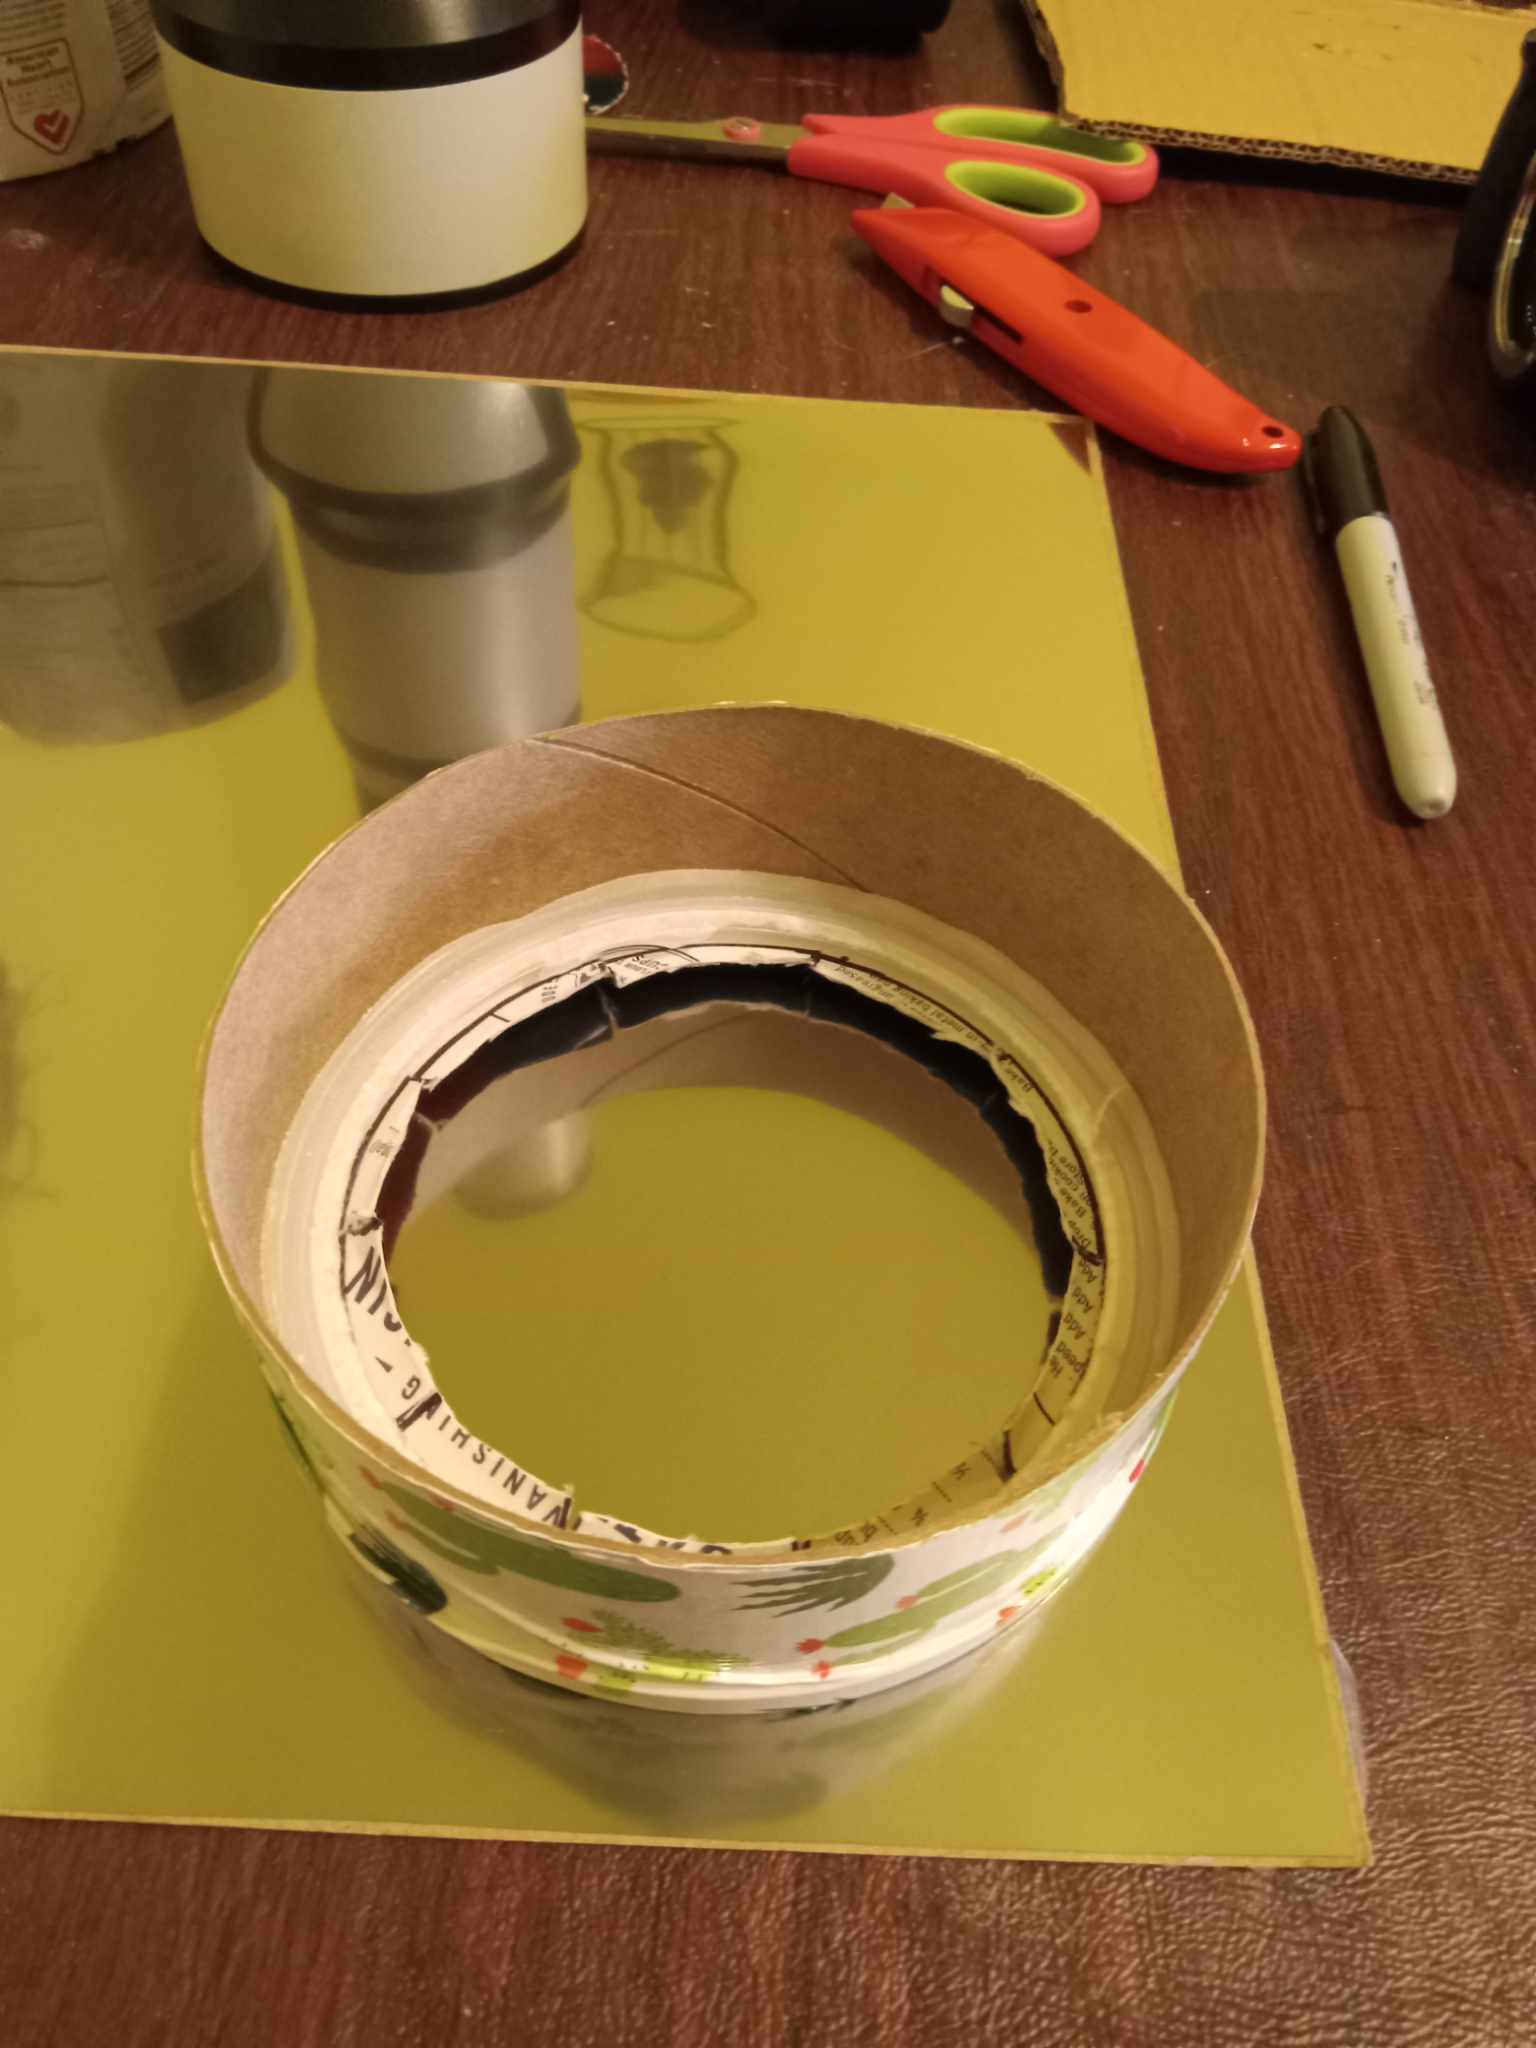
Now, use your razor knife to cut along those line, making sure not to extend your cut beyond the black line.

Replace the plastic ring back onto the Quaker Oats container and tape the ring to the container using the duct tape (I didn't have the classic gray tape, so I used this odd cactus design duct tape). Be certain to insure that the tape does not extend above the top of the ring. Make sure the tape goes all the way around the container. This is important for the next step and for a later surprise.

Now, place the container on its side and, using the razor knife, cut through the paper container along the tape line. Go slowly and carefully, insuring you have a clean, straight cut. When completed, you should have a ring with attached lid roughly the width of the tape.

Place the ring, lid side down, onto a corner of the sheet of Mylar filter material, making sure to give yourself about 1/2" an inch gap between the ring and the edge of the sheet.
Using the black Sharpie, mark out the outline of the ring onto the Mylar sheet.

Using a pair of scissors (be certain not to run with them), cut out a square about 1/2" an inch beyond the black circle. Store the remaining Mylar material for later use.

Now, make sure the Mylar sheet's silvery side is face up, towards you. Using the scissors once more, cut small lengths of duct tape and attach them to the sheet as shown below.

Turn the taped sheet over so the black side is facing you and the sticky side of tape is also facing you (very important). Now, place the Quaker Oats ring/lid assembly down onto the black side and, using the silver Sharpie, mark the outline of the assembly onto the sheet, making sure to leave a 1/2" gap between the ring assembly and the edge of the sheet. This will serve as a guide as you secure the taped edges to the paper ring assembly.

Now, holding the ring assembly in place with the palm of your hand, lift one taped edge up onto the paper ring until it sticks.

Repeat with the other side.

Now, do the same with the remaining sides until you have something resembling the photo below. Don't worry if there is a wrinkle or two. It won't matter.

Fold each corner into itself, much like wrapping a Christmas present and tape each folded corner down until it looks like this.

You now have a completed solar filter assembly.

Time to attach it to your camera lens.

Grasping the filter assembly by the side (try not to touch the Mylar sheet in order to avoid scratches), slowly slide onto the lens about halfway down the length of the filter assembly.

Once done, your camera set-up should look like this.

Once completed, you're gonna wanna store the filter assembly in a container until eclipse time. I found that an Olive Garden soup-to-go bowl was an ideal container to use for this purpose. This is why I suggested not cutting the paper container longer than the length of the duct tape.

